
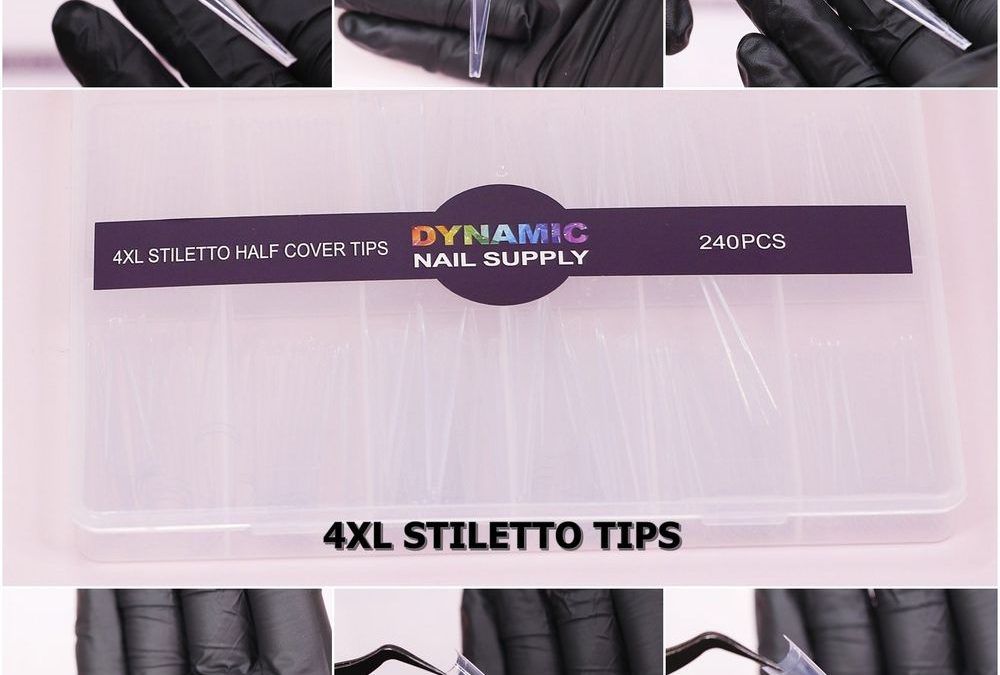
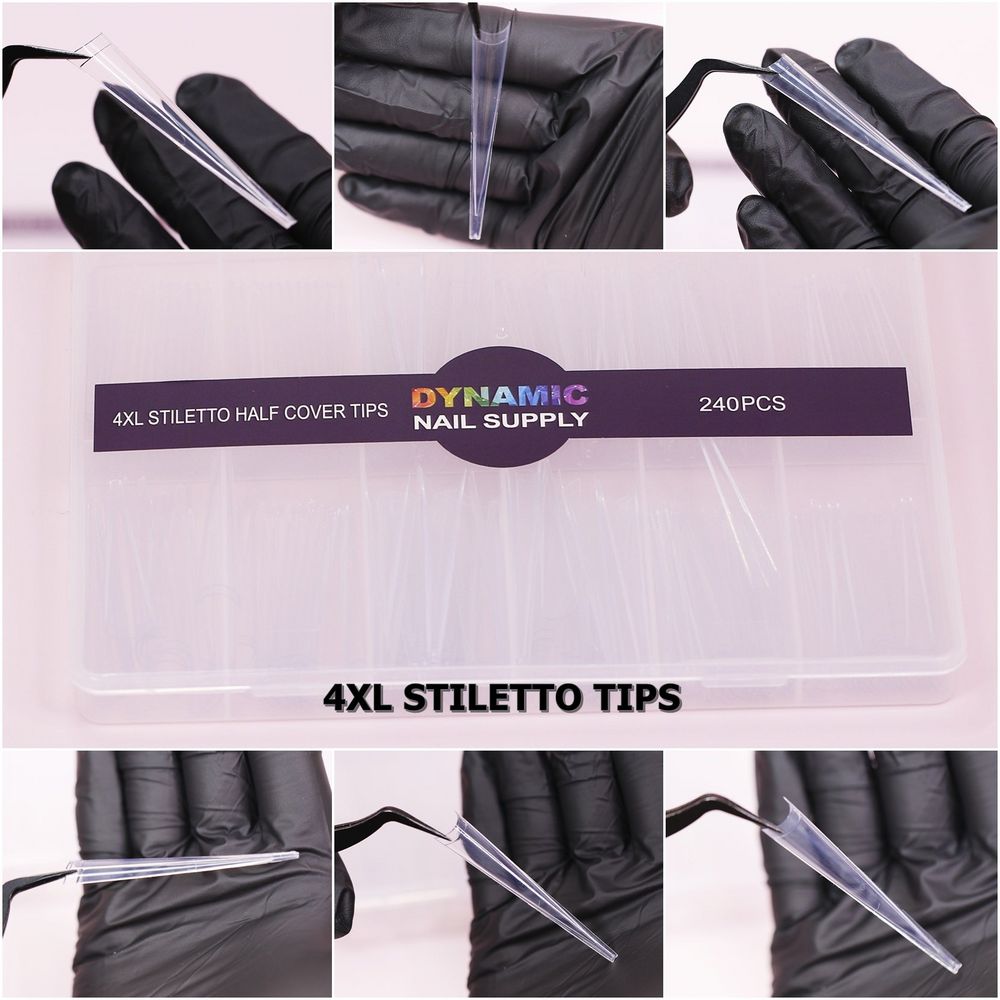
Prep scene: We’re in a busy salon, a tray of ultra-long clear stiletto tips sits next to a pale pink backdrop while a tech adjusts black nitrile gloves and dark tweezers. The translucent box reads “240PCS” and the sharp points gleam under studio lights.
Key takeaways:
- Choose a fast-curing cyanoacrylate for instant hold, or a thicker adhesive for controllable placement on 4XL lengths.
- Surface prep and proper half-cover fit cut lifting—clean, dehydrate, and roughen the nail bed and underside of the clear tip.
- Use pressure technique, an apex-friendly bead, and correct tip junction smoothing to extend retention on extreme stiletto extensions.
- For photo shoots, finish with a smooth apex and glossy seal to showcase the clear high-gloss plastic.
Overview: Why bonding matters for 4XL super long half-cover tips
These 4XL Super Long Stiletto Tips are designed for dramatic, elongated silhouettes. Their half-cover design means the tip needs to lock securely to the natural nail across a long lever arm. That increases torque at the seam, so adhesive choice and technique directly affect both wear time and how the finished nails photograph—especially under bright lights where the smooth clear plastic shows every edge and reflection.
Adhesive chemistries: Pros and cons
We compare the common adhesive chemistries you’ll see for extreme stiletto work so you can pick the best glue for stiletto tips that fits your workflow.
Fast-acting cyanoacrylate (thin consistency)
Pros: Nearly instant bond, great for walk-in clients and quick sets. Thin CA runs into tight junctions and creates a seamless contact line that looks clean under studio lighting.
Cons: Very thin CAs cure so fast they give you little repositioning time—risky on 4XL tips where alignment and angle matter. They can also be brittle on long-lever loads if used alone without reinforcement.
Medium-thick cyanoacrylate (gel-like, brush-on)
Pros: Offers a balance of working time and penetration. The gel-like body helps create a slightly cushioned seam that resists shock. We find this chemistry ideal for salon techs who need control when placing ultra-long half-cover tips.
Cons: Slightly longer cure time and sometimes needs activator for full strength.
Thicker structural adhesives (viscous glues)
Pros: High-gap filling properties and less brittle under stress. Thicker adhesives let you build a supportive bead behind the tip’s natural arch—useful when the clear plastic creates a pronounced apex.
Cons: Longer set time and visible glue ridge if not finished well—so you must sand and sculpt before sealing for photo-ready gloss.
Prep: Nail bed and tip surface
Surface prep is where you win retention. For the 4XL clear half-cover tips we recommend this exact sequence:
- Trim and lightly buff the natural free edge—avoid aggressive thinning of the nail plate.
- Dehydrate the nail with a lint-free wipe and nail dehydrator to remove oils.
- Gently roughen the underside edge of the clear tip where it contacts the nail with a fine file or buffing block to increase mechanical grip. The glossy transparent plastic on these tips is very smooth, so a little abrasion helps adhesives bite.
- Test fit each size from the 240-piece box to choose the best half-cover match—small gaps at the junction concentrate stress and promote lifting.
Application techniques: Bonding for strength and photo finish
Adhesive alone won’t save a poor technique. Use these salon-tested methods tailored for super-long stiletto tips.
Bead placement and pressure
Place a thin, controlled bead of glue along the center of the nail bed or a thin ring near the cuticle depending on the glue’s viscosity. For thin CAs, a single central bead plus immediate placement works best. For thicker glues, apply a slightly larger bead and press firmly for 10–15 seconds, holding with tweezers if needed to align the sharp point.
Support the lever arm
Create a tiny internal support by adding a drop of thicker adhesive just behind the apex where the tip meets the natural nail. This bead acts like a miniature buttress to take shear forces during wear. Smooth excess and cure or let set as per the glue instructions.
Seam finishing for photos
For studio-ready shots, finish the junction so light glances smoothly over the seam. We recommend lightly buffing the seam after the glue has fully set, then apply a thin builder layer or soak-off gel to feather the junction. A glossy top finish over that will emphasize the clear high-gloss plastic of the stiletto tip and hide any minor imperfections.
Bonding workflow: Tools and timing
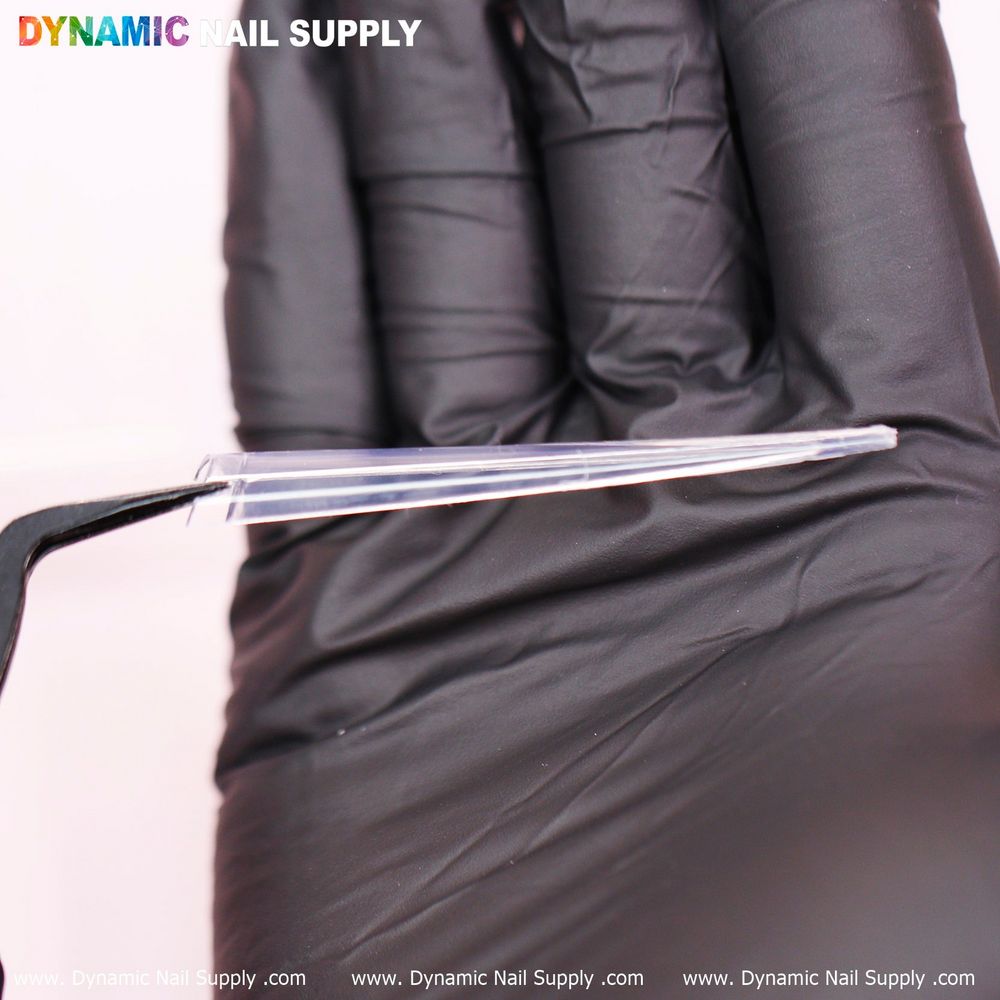
- Keep black nitrile gloves on to avoid skin oils transferring to the clear tips during handling—this image detail is practical and photogenic.
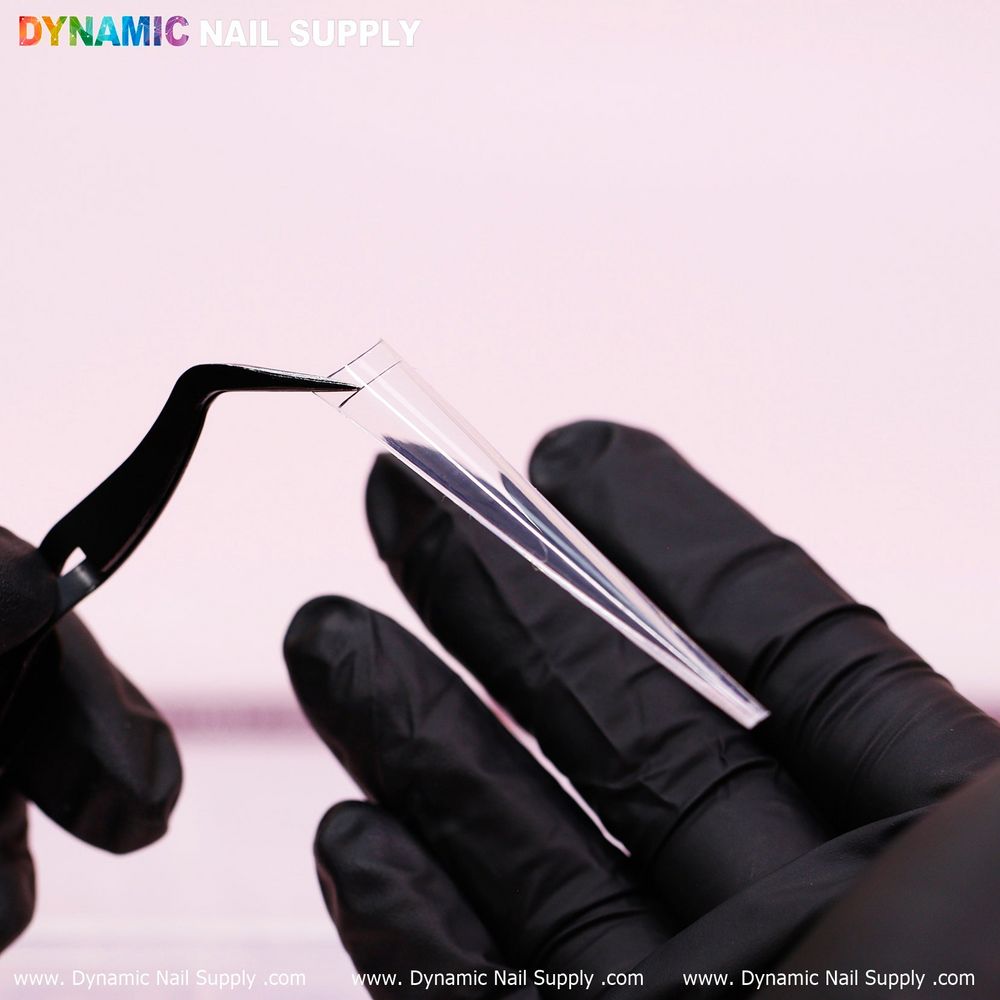
- Use dark tweezers to hold the tip during placement for precise control of the very sharp point.
- Work under even light with a pale background (the pictured pale pink works great) to spot gaps and reflections while you align.
- Allow appropriate cure time per adhesive—rushing removal of pressure ruins bonds on long extensions.
At-home vs salon adhesives: Recommendations
For salon use, we favor medium-thick cyanoacrylate adhesives or a two-step system combining a fast CA for initial hold and a viscous structural glue for reinforcement. That combo gives instant placement security and long-term resilience for 4XL lengths.
For at-home clients, recommend an easy-to-use fast CA in a controlled applicator bottle, plus clear instructions: select correct size from the 240pc box, prep with dehydration, and press firmly for the full recommended time. Remind them to avoid immediate heavy use of hands for the first hour.
Safety and handling
Always work in a ventilated area and avoid skin contact—cyanoacrylate will bond skin quickly. Keep glue caps tight to prevent accidental spills and store bottles upright. When using files and buffers to finish seams, wear a dust mask to avoid inhaling acrylic or plastic particles. Proper handling keeps both your team and your photography area pristine.
Photographing the final set
These clear, glossy stiletto tips photograph best when light skims the smooth surface. Use a soft-key light at a low angle to pick up the high-gloss reflections without blowing out the point. The pale pink background from the product photo complements clear tips and helps the translucent apex read on camera. Black gloves and dark tweezers make great props to frame the length and emphasize contrast for client marketing shots.
Cost and availability
The 4XL Super Long Stiletto Tips box of 240 currently lists for about $12—prices may change. The box shows 10 sizes so you can size-match quickly for clients with long nail beds and dramatic extension goals.
Final checks: Wear tests before the client leaves
Before handing the client their mirror, do these quick checks: flex test each finger gently to feel for movement at the seam, inspect junctions under direct light for tiny gaps, and make any micro-sand adjustments then re-seal. A small bit of extra time saves returns and keeps studio photos flawless.
Who-should-buy summary: If you build extreme extensions or shoot dramatic promo images, pick adhesives that give instant control plus structural support for long lever arms—especially when working with the 4XL Super Long Stiletto Tips. For pairing details and to order the 4XL Super Long Stiletto Tips box of 240 for tight-fitting half-cover work, see product info and availability here 4XL Super Long Stiletto Tips.