
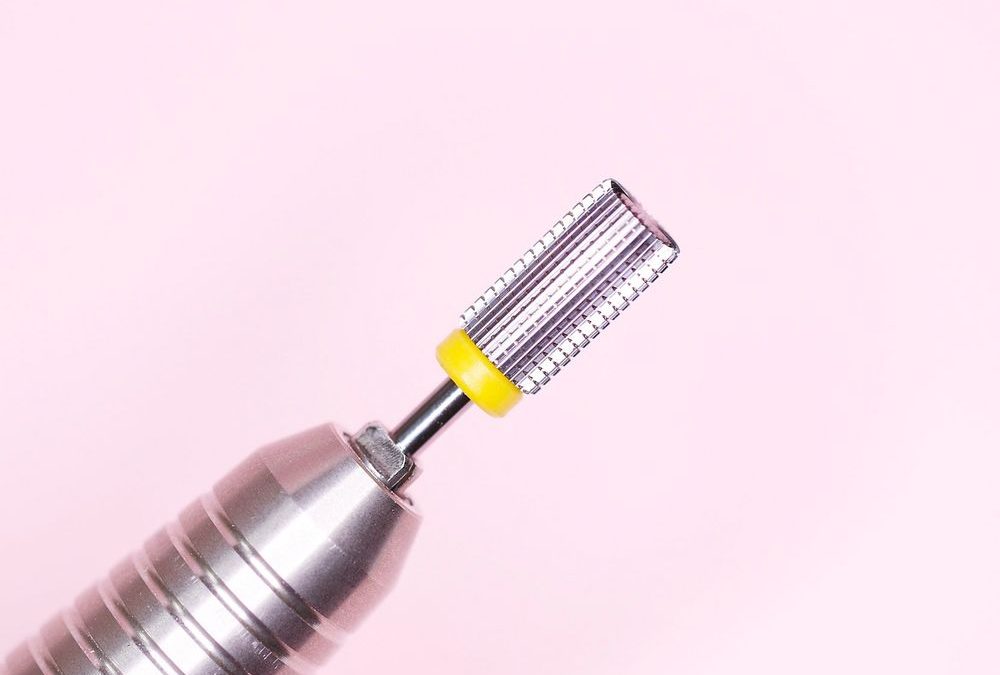
It’s mid-morning and the salon light is soft; a client extends a hand and we’re eyeing the final pass where acrylic meets skin. This article is about using the Super Barrel (new) Extra grit — the extra‑fine, chrome‑finished barrel bit with its bright yellow rubber ring — to seal the cuticle line while protecting natural nail thickness and producing photo-ready finishes.
Key takeaways:
- The Super Barrel’s extra-fine grooves let us seal edges without aggressive material removal.
- Use low RPMs, short light strokes, and a flat handpiece angle to avoid thinning the natural nail.
- Keep contact time under 2–3 seconds per stroke and use the yellow rubber ring as a visual stop.
- Lighting, background, and a clean pastel setup help the sealed line photograph cleanly.
Prep: Set the Scene and Station
Organize one clean work area for finish passes only. We place a soft pastel-pink towel or pad to mirror the product photo’s background vibes — it helps us judge edges under warm lighting. Have the Super Barrel (new) Extra grit ready: its polished metallic surface and finely grooved head are easier to inspect against a pale background. A bright task lamp, finger rests, and alcohol wipes should be within reach.
Tools: Handpiece, RPM, and Accessories
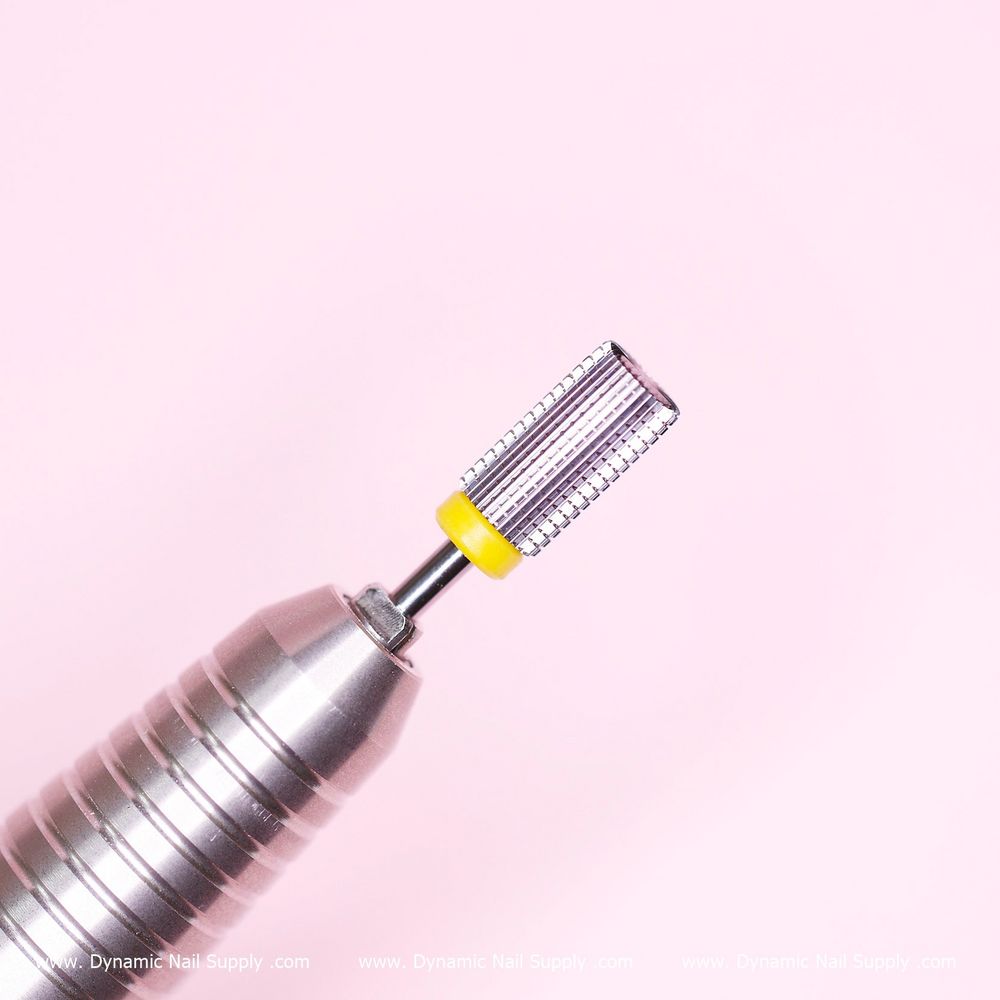
Pick a low-torque e-file handpiece with smooth control. For sealing the cuticle line with this extra-fine barrel bit we recommend starting at 3,000–6,000 RPM for most techs and clients; adjust downward if you feel heat. The small bright yellow rubber ring on the shaft serves as an intuitive stop marker — align it so you never bury the bit head too deep into the fold.
Grip: How We Hold the Handpiece
We hold the handpiece like a pencil for fine control. Rest our pinky or ring finger on the client’s hand to steady micro-movements. Keep the shaft relatively parallel to the nail surface — about 5–15 degrees off flat — so the barrel head grazes the acrylic edge without digging into the eponychium.
Stroke Pattern: The Step-by-Step Sequence
- Inspect: Under lamp light, map the smile line and any peaks where acrylic needs sealing.
- Anchor: Place your stabilization finger near the nail base; set handpiece at 3–4k RPM for the first pass.
- Feather: Use short, feather-light strokes from lateral wall toward the center of the cuticle line. Each contact should be 1–2 millimeters and last no more than 1–3 seconds.
- Progress: Increase to 5–6k only if you need a faster, uniform burnish and the client feels comfortable. Keep strokes rhythmic and avoid back-and-forth on one spot.
- Blend: Lower speed and glide across the edge to merge the acrylic smoothly into the natural nail plane.
Angle and Pressure: Why They Matter
The extra-fine grit on this Super Barrel is forgiving, but we rely on angle and pressure to protect the natural plate. Keep the bit almost flat to the nail — that disperses abrasion and prevents point pressure that thins the nail. Use barely perceptible pressure; if you need force, reduce RPMs instead. The polished, multi-row ridges on the barrel allow a controlled satin burnish rather than aggressive filing when used gently.
Heat Control and Client Comfort
Heat builds from friction, not grit alone. Short strokes and controlled contact time are our primary defenses. Pause frequently to check the client’s comfort, and if a warm sensation appears, lift and air the area for 5–10 seconds. We also recommend having a small fan or cool air source available for sensitive clients. If you notice any discoloration at the edge, stop and reassess — usually that signals too much contact time rather than a tool fault.
Using Visual Cues: The Yellow Ring and Chrome Finish
We use the yellow rubber ring on the shaft as a visual depth limiter — it’s a reliable cue when working tight around folds. The chrome-like polished finish and the finely grooved head reflect your light differently; angle your task lamp so the ridges show texture without glare. That reflection pattern helps confirm you’re making even passes across the entire perimeter.
Photo-Ready Final Touches
When we plan to photograph finishes, small choices matter. Keep the background soft pastel-pink like the product shot here — it contrasts with chrome accents and makes a sealed cuticle line read clean on camera. Use diffused light and a macro lens or phone camera for closeups; position the light to reveal the satin burnish along the smile line without harsh specular highlights on the metal bit or chrome accents of the nail art.
Sequence for a Salon Workflow
- Prep and sanitize station.
- Perform primary shaping and bulk reduction with coarser bits.
- Switch to the Super Barrel (new) Extra grit for sealing — start slow and steady.
- Finish with buffing or low-speed polish steps as your service requires.
Care, Inspection, and Hygiene
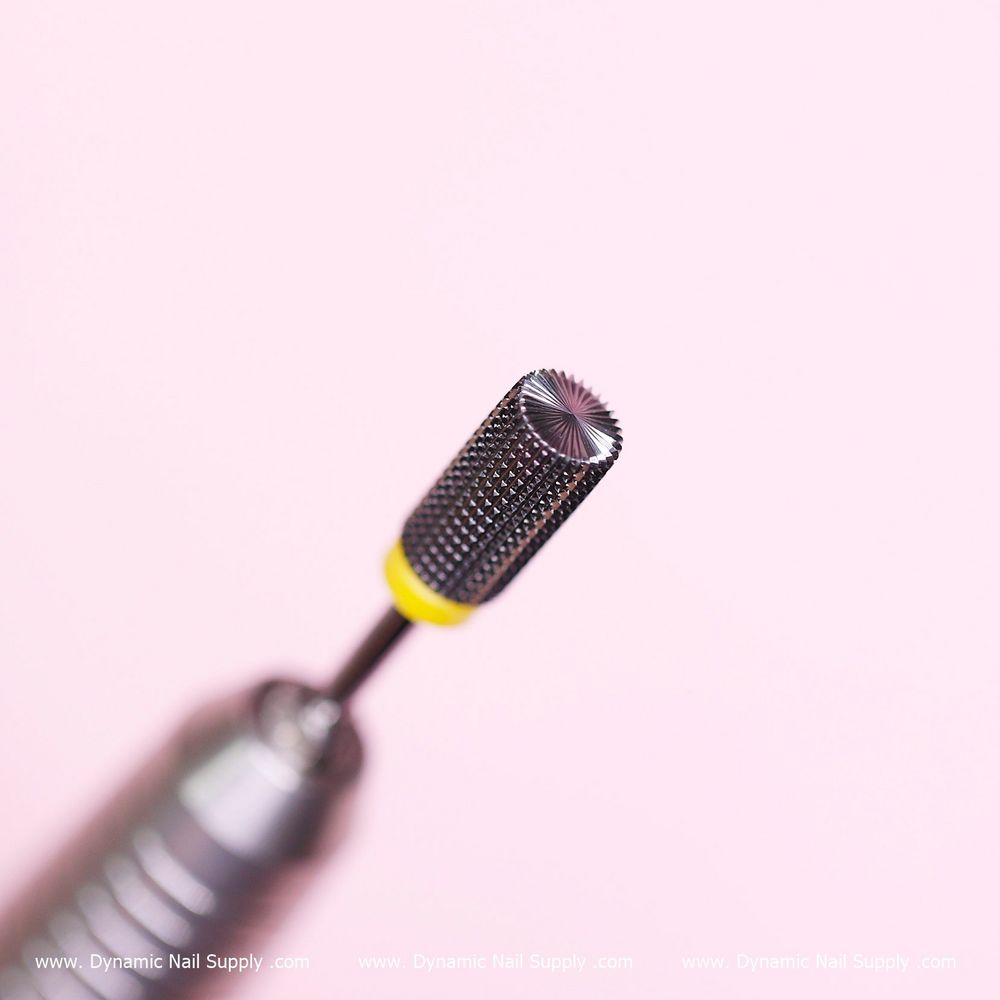
Inspect the barrel head before each use; the multi-row grooves should appear uniform. Clean debris with a soft brush, then follow your salon’s disinfection protocol for carbide bits. Avoid harsh impacts that can deform the ridges. Store in a padded slot so the polished chrome surface and the yellow ring remain undamaged.
Safety Notes
Use sensible precautions: keep RPMs appropriate, avoid prolonged contact in one area, and always test on a non-client surface when trying new speeds. If a client reports sharp pain or visible abrasion, stop immediately and switch to manual buffing until healed. Maintain your usual sanitation and PPE routines.
Who-Should-Buy: Final Recommendation
If you’re a salon owner who needs a delicate finishing tool to seal acrylic at the cuticle without shaving thickness, the Super Barrel (new) Extra grit is designed for that role. Its fine grooved surface, polished chrome look, and the bright yellow ring for visual depth control make it a go‑to finishing bit for consistent, photographable results. The price at the time of writing is $10, though prices may change. If your goal is a safe, repeatable sealed edge and a finish that photographs beautifully, consider adding this extra‑fine barrel bit to your finishing kit.
For service descriptions, training notes, or to plan a team demo of the Super Barrel (new) Extra grit, include super fine barrel bit in your station checklist as the recommended finishing tool for sealing without thinning the nail.