
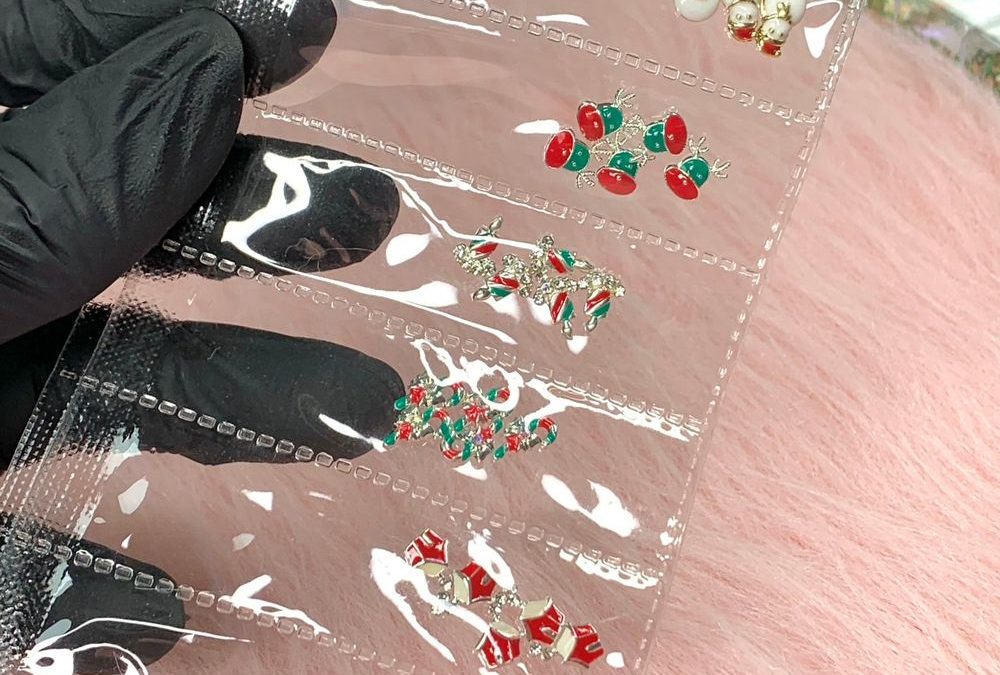
Picture a midday rush: three clients back-to-back, a station full of cured gels and a gloved hand reaching for one tiny, festive accent. We want a one-nail add-on that reads on social media, photographs like a prop, and slips into our 50–60 minute appointments without stretching them.
Key takeaways:
- We can add one 3D charm in roughly 10 minutes with a clear five-step workflow.
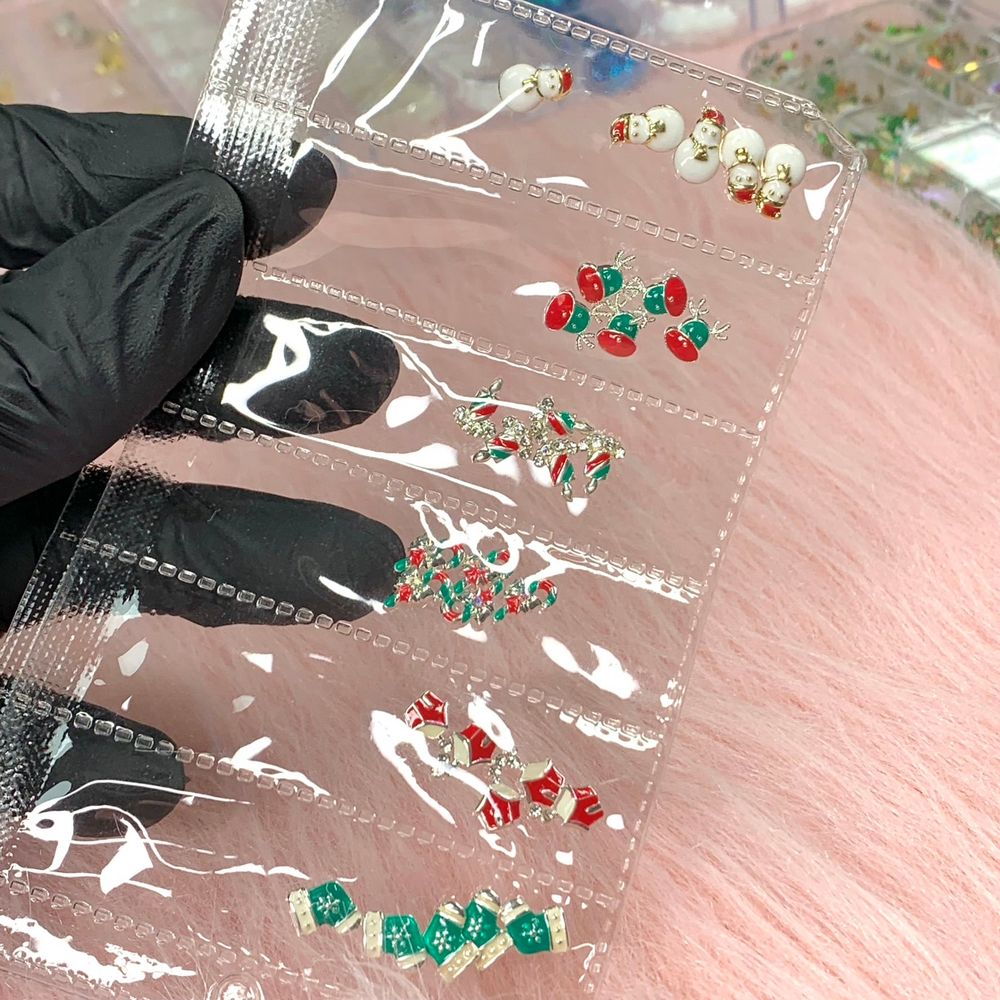
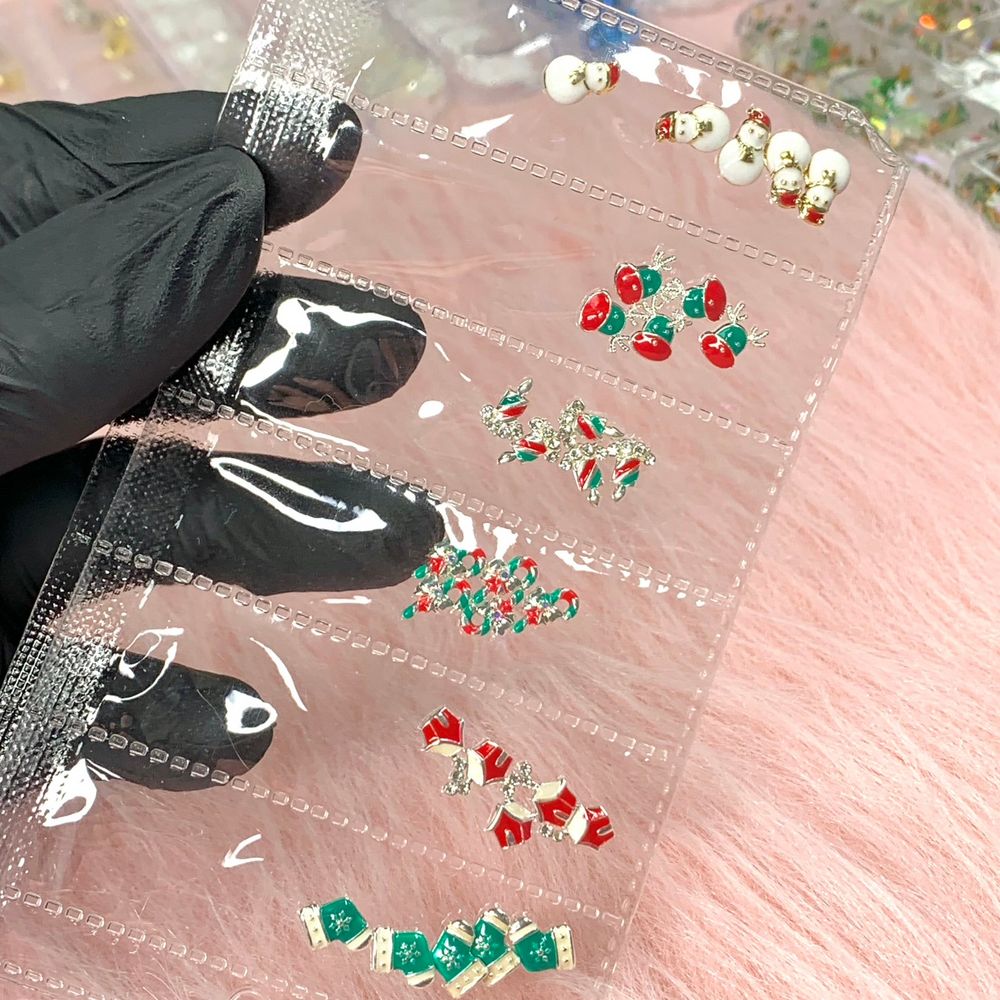
- The 30 pcs Charm (Socks, Candy, Snowman) set gives a mixed palette of red, green, white and gold that photographs cleanly on glossy bases.
- Minimal tools, a single adhesive choice, and consistent placement keep chair time predictable.
Prep: Station Setup (2 minutes)
Start each shift by staging a compact charm kit. For a reliable 10-minute add-on we stock: a sterile pair of waxed micro-tweezers, a small dish of 5–10 drops of medium-viscosity gel adhesive or builder gel for surface seating, a lamp pre-set to 30 seconds for thin gel tack cures, a dotting tool for micro-adjustments, and a sealed sheet of the 30-piece clear-pocket pack laid on a pink cloth or paper for contrast.
Lay out one pre-cleaned topcoat bottle and a small pot of slip-free cleanser. Keep the clear pocket card visible so technicians can quickly select a stocking, candy cane cluster, or the small snowman charm with red hat and gold detail. The pack’s gold-edged enamel and faceted rhinestones pop against glossy red or neutral bases—plan your photographed combos in advance.
Consult: Client Script & Pricing (1 minute)
Use a one-line script to upsell: “Add a single 3D holiday charm—stocking, candy cane, or snowman—for $8; it takes about ten minutes.” We price per-charm to match the product cost and time. Mention that the charm is a surface focal secured with gel adhesive and finished with a topcoat seal for daily wear. Confirm placement (thumb, ring, or accent finger) since placement affects how we photograph the result for social posts.
Placement: Map the Look (1 minute)
Before you touch the charm, map a visual: pick the base color and the exact cuticle-to-center position. The 30-piece mix favors single-focal looks—one snowman on a neutral pink base, a candy cane at the cuticle of a white festive French, or a tiny stocking at the center of a glossy green thumbnail. For photographic consistency, we prefer the charm placed slightly above the natural smile line so the shadow and rhinestones catch light.
Apply: The 10-Minute Step-by-Step (4 minutes)
- Sanitize and Prep (30 sec): Clean the nail surface with cleanser and a swipe of isopropyl if needed. Lightly buff only if the client’s topcoat has oils; otherwise keep the base glossy for contrast.
- Seat the Charm (1 minute): Using micro-tweezers pick the chosen piece from the clear pocket. Dab a tiny drop of gel adhesive or medium builder gel onto the nail where the charm will sit—not on the charm. Position the enamel charm so the gold edges are parallel to the nail free edge for a balanced look.
- Tack Cure (30–45 sec): Gently press the charm for a second, then cure under the lamp for a short tack cure so it won’t move. This step prevents shifting when we add the sealing layer.
- Encapsulate Edge (1.5–2 minutes): Apply a thin bead of clear builder gel or hard topcoat around just the edges of the charm—leave the top of rhinestones exposed if you want sparkle to read in photos, or cover lightly for durability. Smooth the bead with a clean brush and cure fully to manufacturer time. Avoid heavy flooding that hides the enamel details and gold trim.
- Final Seal and File (30–45 sec): If needed, gently buff any sharp metal edges and finish with one thin layer of glossy topcoat across the nail and charm base. Cure and finish with a short wipe of cleanser for shine.
For a reliable single-focal holiday accent we stage 30 Charm Socks Candy Snowman on a pink cloth for easy selection and scale.
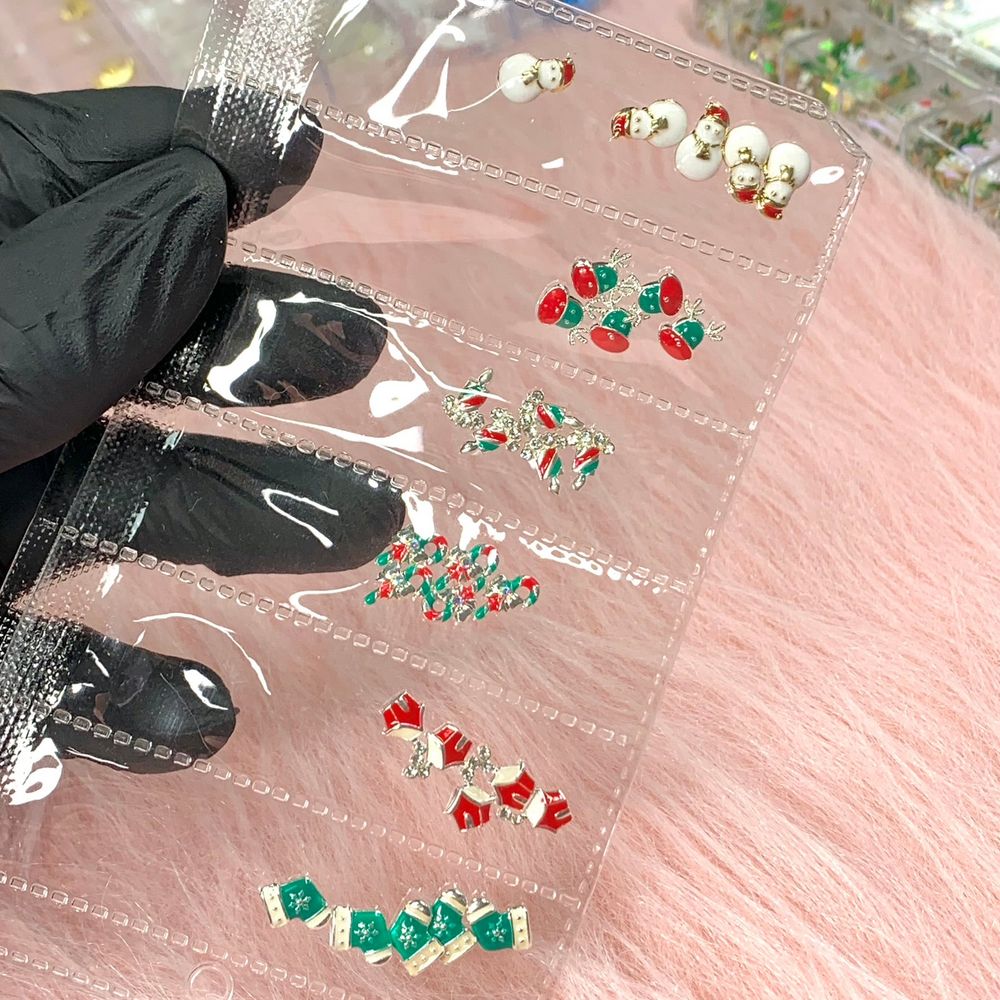
Photo-Ready Finishes: Fast Styling for Salon Shots
We design this service to be social-ready. For quick client photos use a glossy base (red, emerald, or neutral pink) because the gold metal outlines and silver rhinestones reflect clean highlights. A simple white or pale-pink fur backdrop lets the gold edges read without color cast; hold the hand with a matte black-gloved prop for scale if you’re creating a product-style image similar to the reference pack photo.
Lighting: use a small LED ring at 45 degrees to the nail to catch rhinestone facets and avoid glare on the enamel fields. Camera settings: macro mode, shallow depth to blur the background, and one focal point on the charm. Keep the shot tight on the accent finger and crop so the gold trim sits off-center—this composition sells luxury without extra time.
When you plan campaign images for multiple clients, batch the same base color and charm type so you can photograph three similar shots in a single lighting setup.
Timing Checkpoints & Throughput
We time the service in three checkpoints: 2 minutes station/consult prep, 4 minutes application and curing, 4 minutes final sealing, photography, and client hand-off. If you run back-to-back clients allow one extra minute per station for sanitizing tweezers and swapping charm selections. With the 30-piece pack you can serve roughly 30 single-charm add-ons per week without reordering if you promote the service selectively.
Care & Handling Notes
Handle the enamel charms with care—avoid bending or forcing metal edges. Keep the pack in its clear pocket when not in use to protect the tiny rhinestones. Use only salon-grade gel adhesives and cure per their instructions; do not submerge the charms in harsh solvents. If a client needs removal, soak with the appropriate lacquer remover or debonding gel and gently pry once adhesive softens.
Upsell Variations and Pricing Guidance
We price the single-charm add-on to cover product cost and time; for example, a $8 add-on covers the charm and the ten-minute workflow (prices may change). Offer bundled pricing for two-finger accents or a seasonal set to increase average ticket: two charms at a small discount or a themed mini-set for holiday events. When photographing bundles, keep spacing even and use the same lighting rules so each charm’s gold edge and rhinestone still read clearly.
Who-Should-Buy: Final Takeaway
We recommend the 30 pcs Charm (Socks, Candy, Snowman) set for salon owners who want a predictable, photo-forward holiday charm add-on service that fits a packed schedule. If you need a small inventory of mixed festive accents in red, green, white and gold that photograph cleanly and install fast, this 30-piece pack is built for quick chairside application and social-ready results.