
Picture this: a client leans back in the chair, nails freshly finished with tiny blue butterflies, and we have three minutes to get the perfect salon shot before they grab their coat.
Key takeaways:
- Use soft side light to show satin sheen without hot glare.
- Choose a pale-pink or neutral backdrop to amplify cool blue gradients.
- Work with mixed sizes: composition matters more than quantity.
- Matte and glossy topcoats change mood—pick based on the look you want to photograph.
Prep: Start Clean
We always begin by making the surface camera-ready. Remove lint and stray dust with a soft brush and check decals for lifted edges. These blue butterfly stickers have a slight satin sheen, so fingerprints and smudges show up in close-ups; a final wipe with a lint-free microfiber or a tiny dab of isopropyl on a swab (used sparingly) will help the stickers sit flush.
Lighting: Bring Out the Blues
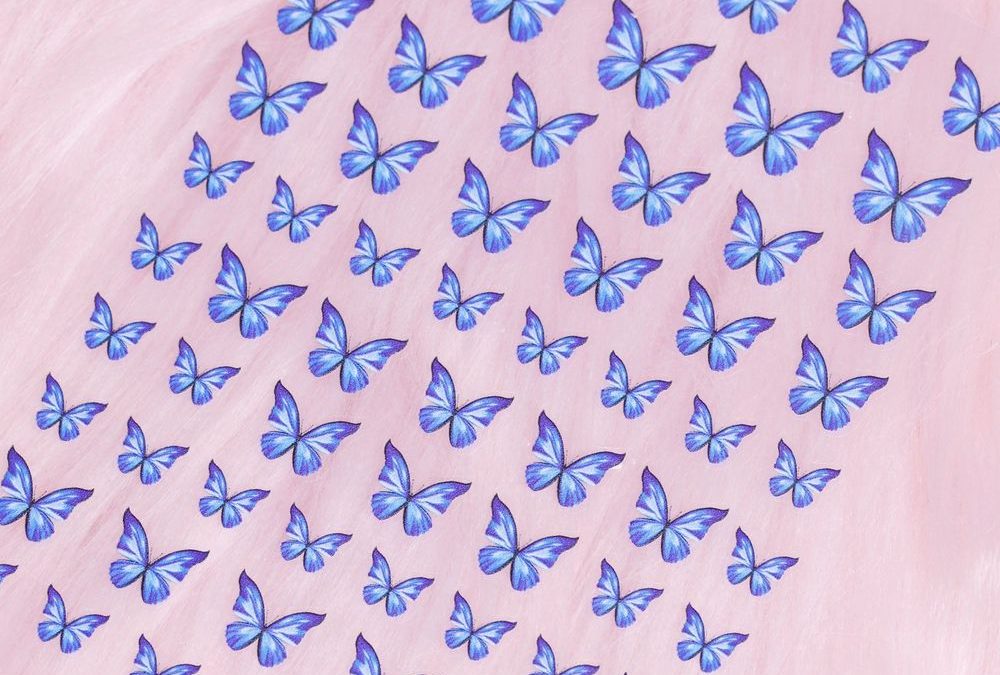
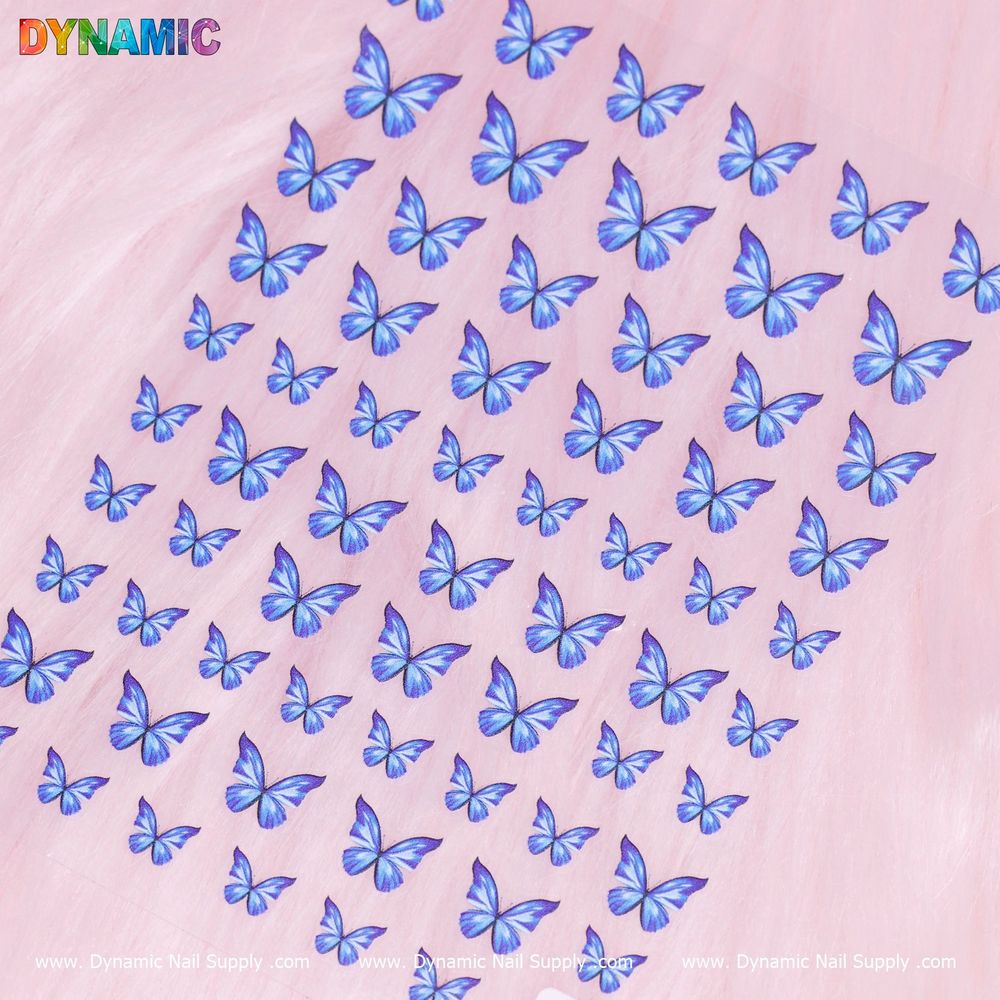
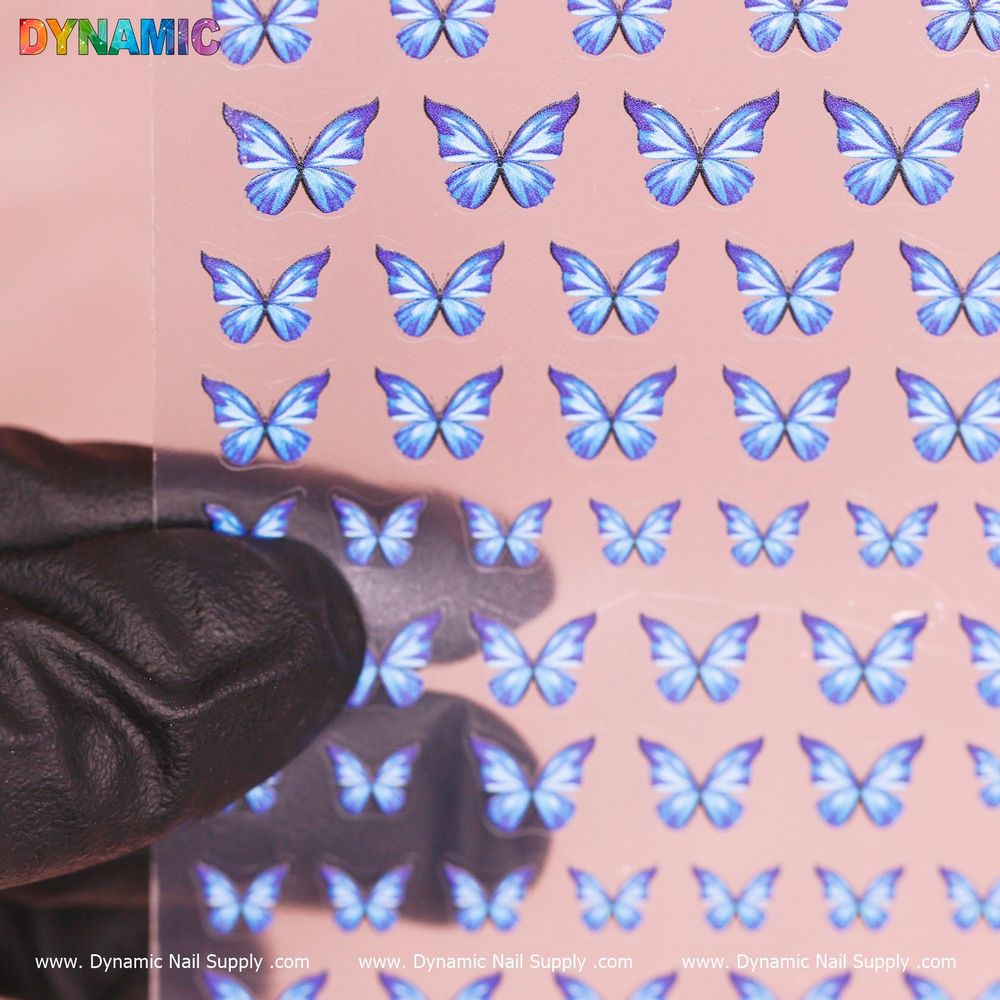
The cool blue gradients—from deep cobalt edges to sky-blue centers with soft white highlights—look best under neutral, diffused light. Direct flash flattens those subtle transitions and makes the satin sheen too bright. Instead, we position a softbox or a window to the side and bounce light off a reflector opposite the light source. Side light deepens the hand-drawn dark outlines and enhances wing texture without creating hard hotspots.
Backdrop: Use Color Contrast
These stickers were shown on a pale-pink background for clear contrast, and we recommend repeating that idea. A blush or light nude backdrop emphasizes the cool tones and keeps the photos feeling delicate and dreamy. If you want a moodier shot, try a sheer nude or soft gray—but avoid saturated warm tones that will compete with the blues.
Composition: Let Mixed Sizes Shine
What sets this sheet apart is that it contains mixed sizes of the same butterfly design. We treat the variety like a toolkit for composition rather than a pattern to fill. For single-nail accents, place a larger butterfly slightly off-center. For multi-nail layouts, stagger small and medium butterflies to create a visual rhythm. When photographing, crop tightly around an accent nail to show the gradient in the wings and the thin darker outline that gives a hand-drawn look.
Arrange a few practice nails on a hand rest or display finger to test spacing before the camera is out. Small clusters read as detail; rows or repeating butterflies along a tip read as pattern. Use negative space intentionally—squared tips with a row of little butterflies photograph as crisp and modern.
Topcoat Choices: Matte vs. Satin Glow
These stickers have a slight satin sheen when applied. If we want a muted, editorial vibe, we photograph them under a matte topcoat which softens highlights and emphasizes the delicate blues. For a lively, dimensional look, a glossy topcoat keeps that satin shimmer and highlights the gradient from cerulean to sky blue. Either way, avoid heavy sealant pools around sticker edges; photograph from a low angle to reveal the thin outlines and white highlights clearly.
Camera Settings and Angles
We keep depth of field controlled: a slightly narrow aperture (f/5.6–f/8 on most cameras) keeps several nails sharp while still providing background blur. Macro or a 50–90mm lens gives us tight detail on the butterflies’ gradient fills and thin violet-tinted navy outlines. Shoot a mix of flat-lay, three-quarter, and 45-degree angles to capture both pattern and texture. For small butterflies, an almost flat angle shows edge detail; for collages layered over sheer polish, a gentle tilt reveals the layered effect.
Styling: Background Props and Color Story
Keep props minimal. A pale-pink card, soft white flowers, or a neutral linen swatch pair well with these cool blues. When photographing an accent nail collage—layered butterflies over sheer pink or nude—we use translucent props or glass to echo the translucence of the polish. The overall mood for these stickers is delicate and playful, so props that feel too busy will steal focus.
Want the actual sheet we photographed? Check it here.
https://dynamicnailsupply.com/products/blue-butterfly-sticker
Editing: Subtle Enhancements
In post, we nudge white balance slightly cooler to honor the blue gradients, but we avoid oversaturating—the soft white highlights are part of the charm, and pushing blues too far destroys the delicate contrast with the blush background. Clone out tiny dust specs and smooth any harsh reflections, but keep the thin darker wing outlines intact; they convey the hand-drawn detail that makes the stickers read as art on the nail.
Quick Shot List For Salon Workflows
- Detail close-up: single accent nail at three-quarter angle to show wing gradient and satin sheen.
- Set layout: flat-lay of both hands showing pattern placements—use pale-pink backdrop.
- Collage highlight: layered butterflies on a sheer pink nail, shot with side light to reveal depth.
- Topcoat comparison: split-image showing matte vs glossy finish on adjacent nails.
Workflow Tips: Fast, Repeatable, Reliable
We streamline the process for a busy service list. Prepare a small photo kit with a foldable reflector, a neutral pink card, and a microfiber cloth so we can shoot on the salon station. Keep the sticker sheets organized by size so the tech can apply consistent accents quickly. Since the sheet is dense and repeating, you can prepare several accent nails in one session and photograph them in a single set-up, saving time between clients.
Price and Availability Note
The sheet we used was priced at $2; prices may change. Because the stickers come in mixed sizes on one dense sheet, they’re especially economical for salons that shoot multiple accent nails per client.
Who Should Buy: Quick Summary
If we run a salon that values delicate, cool-toned nail photography and efficient service photoshoots, these mixed-size blue butterfly stickers are a smart pick. They suit pastel and nude bases, layered collages, and negative-space tips—and they photograph beautifully when we follow simple lighting, styling, and composition rules.